
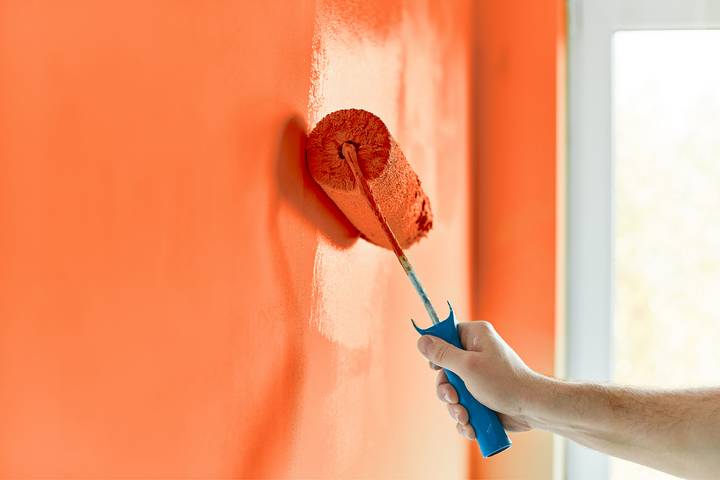
Are you planning to paint your house? Surface preparation is everything. A clean surface is a key to a high-quality paint job. Before you open up a can of paint, your prep work beforehand will ensure that you don’t have to redo it or fix up avoidable blemishes.
Firstly, you should gather all the necessary supplies for your painting task. Start by browsing paint stores to find the items you need. Remember that you need paint, brushes, and rollers to begin with. Alternatively, you may use professional painters to help you with the task. Their expertise will make painting walls an easier task.
Whether you are painting a single room or the entire inside of your house, prepare ahead of time and give yourself the time to ready every wall properly. Here is how to prep walls for painting.
1. Remove soft furnishings

Any wall art, pictures, mirrors, or window treatments should be removed from the wall you intend to paint.
2. Cover electrical outlets with tape
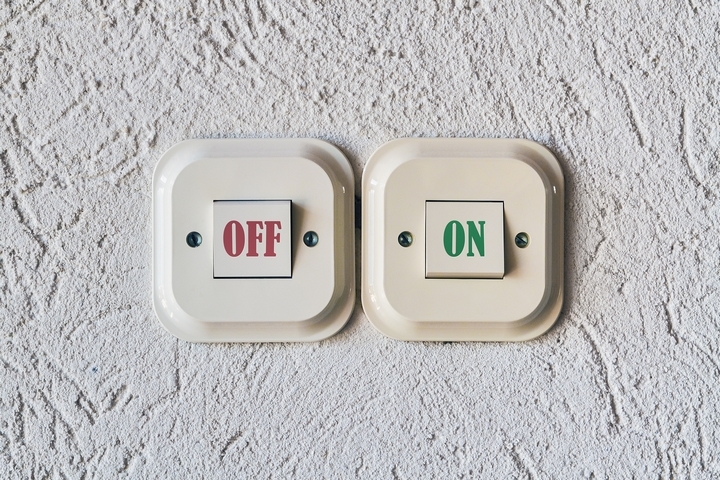
Cover any electrical outlets, light switches, and telephone connections with masking tape. This prevents water and paints from getting in there and causing any number of issues.
3. Cover surfaces with masking tape
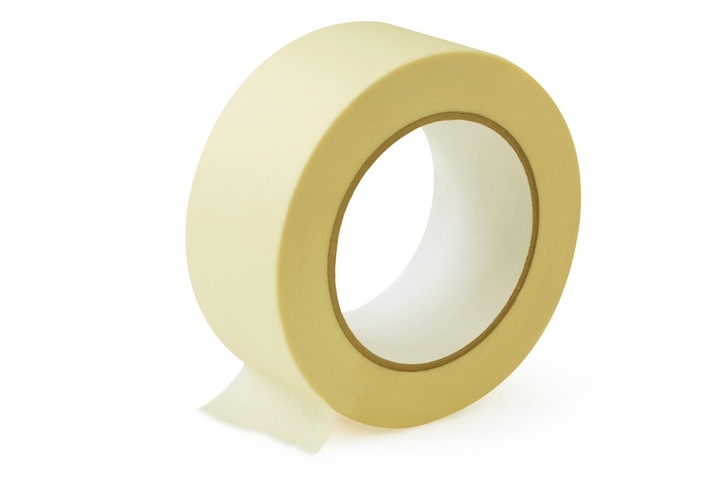
Masking tape can also be used to cover any surfaces you don’t want to be splattered with paint, i.e. trim. Even if you are confident in your painting skills, it’s better to be safe.
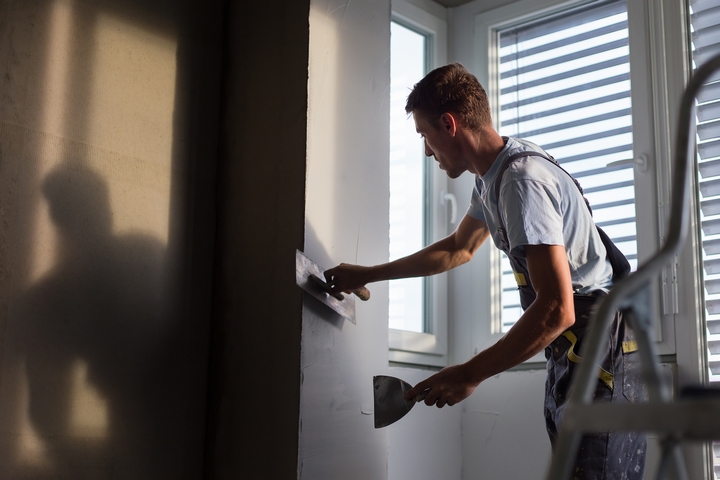
4. Repair any imperfections as you see fit
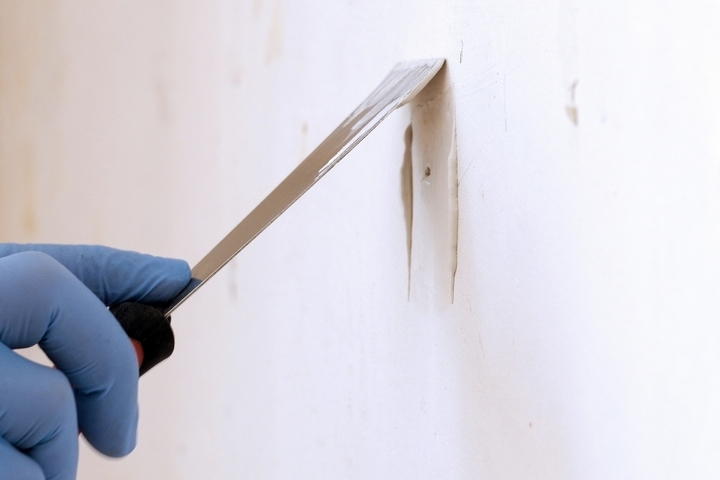
You can’t just paint over gaps or cracks in the wall and expect them to disappear or look any different than they are currently. If there are non-surface imperfections, look into repairing them beforehand.
A patch and some putty can quickly fill in holes, cracks, and gaps, and no advanced knowledge or tools are needed to do this. Just be sure to give it the time to dry and fully set before moving on to the next step in your wall preparation.
5. Clean walls with warm water and a sponge

You don’t want to just start slapping down paint. You prep walls by cleaning them. Most walls aren’t too messy but likely have some surface debris and dust that can be washed with warm water and a sponge. Be sure to wash the entire wall and wipe it down dry with a damp cloth.
6. Tackle kitchen walls with wall-safe cleaners
A kitchen wall will be dirtier than a bedroom wall. It could have food residue, oil, and grime unknowingly covering different areas. The ‘warm water and a sponge’ approach may not be workable.
Instead, try water and a wall-safe grease-cutting cleaner to loosen all the oil and grime. Then, go over it a second time. At that time, use clean water and a sponge to remove anything left behind, including residual cleaning agent.
7. Let your wall completely dry before painting

Allow some time for your wall to air-dry. If the wall is still damp when it comes time to prime and paint it, you’re likely to run into all sorts of trouble, including blistering the paint. A drywall is an absolute must.
8. Remove all mildew instead of painting over it
If there’s mildew, use three parts water to one part bleach to develop a DIY mildew-killing solution and scrub that part of the wall down. Spray the solution on the mildew, let it sit for three minutes, and then scrub down before rinsing it with clean water. You never want to paint over mildew as it will grow through the new paint and cause more difficulty.
9. If applicable, remove wallpaper
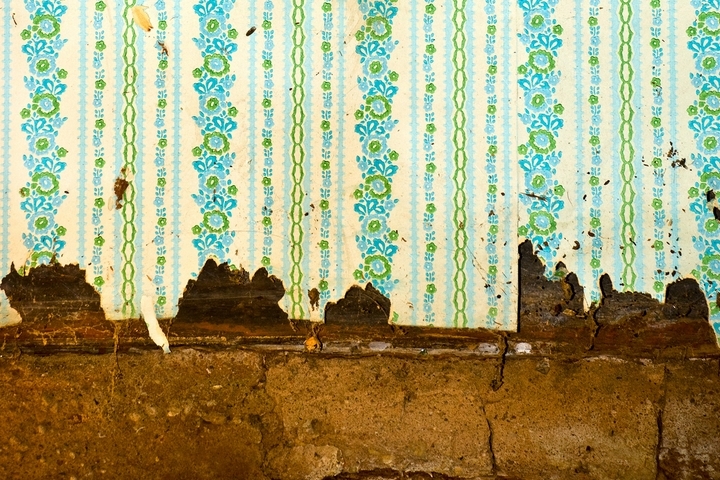
It’s best not to try painting over wallpaper. If you do, you will still often see the wallpaper seams underneath. They’re impossible to hide, especially if it was a high-sheen or textured wallpaper. Remove the wallpaper before you move on to the next step in how to prep walls for painting.
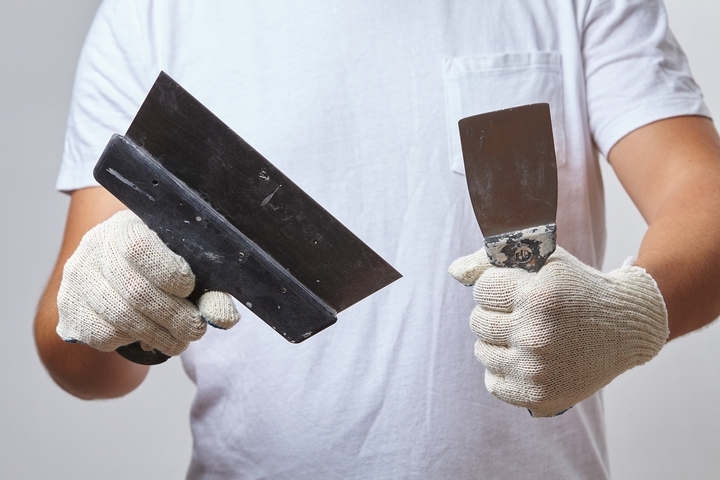
10. Sand all surfaces you intend to paint
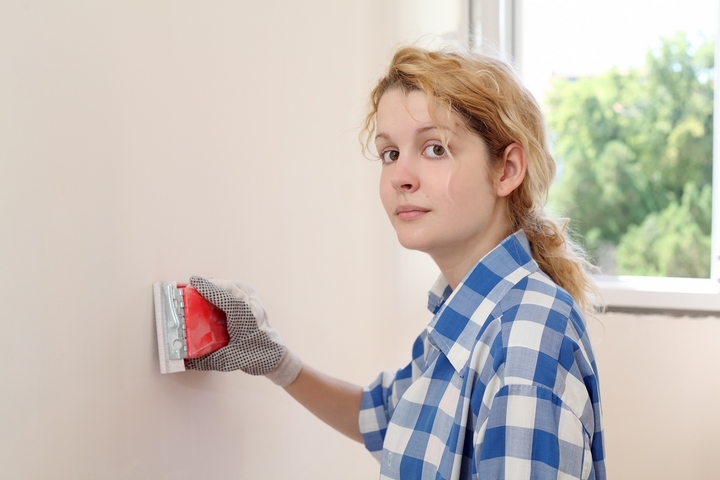
Sand down the wall. Address and smooth out any rough spots. Any uneven surfaces can be sanded down and wiped away as well. If a wall’s been previously painted with gloss or high-gloss paint, sanding is necessary to create a surface the new paint will stick to. When done, wipe away all the debris and leave the wall dry.
11. What sandpaper to buy for wall painting
The sandpaper you need depends on the wall. If it was a water-based paint used previously, fine-grit sandpaper is recommended. If it was an oil-based paint, medium-grit is fine. When going over your wall, you want to remove all cracking or flaking paint. Sand all these imperfections down and remove the debris as painting over them will make for an even surface.
12. Prime walls before painting
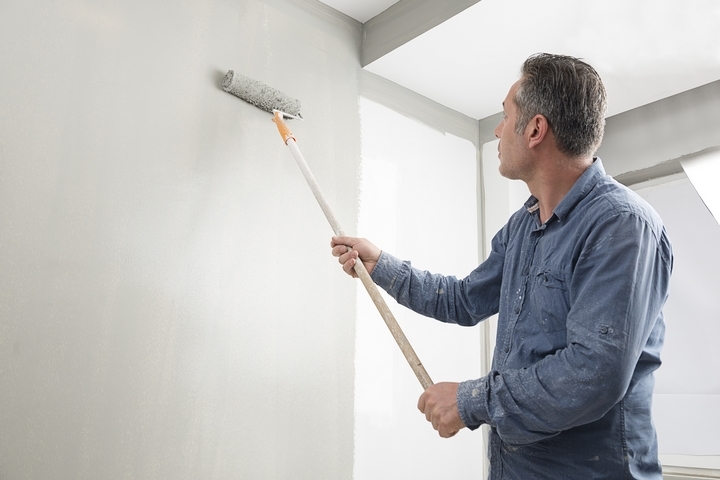
Primer will maximize the look and performance of your paint. They also disguise imperfections, including unsightly pores or surface stains. A primer will lay down a smooth surface for your paint to sink into, and the result will be a uniform finish regardless of what your wall looked like before. There are lots of primers available. You may want to consult a paint supply store or research what primer is best for the colour of paint you have in mind.